by Candace Solesbee Original Post date: February 21, 2014
 My daughter Savannah and I are always looking for creative ideas for “Girls Night” and I have to say, this one was fun!
STEP 1.
Slather your hands with vaseline, using care to keep it off your nail beds.
STEP 2.
Dip a Q-tip in nail polish remover. Remove any vaseline residue from your nails. If you leave vaseline on the nails, the polish will NOT stick.
STEP 3.
Use a glass or porcelain bowl and fill it with tap water.
STEP 4.
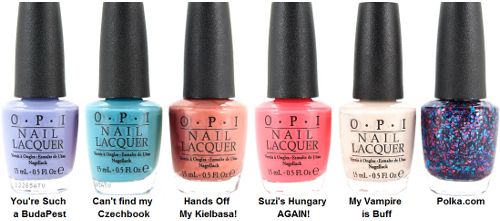
Pour a few drops of each colored polish that you desire in your Graffiti design.
STEP 5.
Swirl the polish lightly with a toothpick, using care not to blend the colors too much.
STEP 6.
Remove any excess polish from around and underneath your nails.
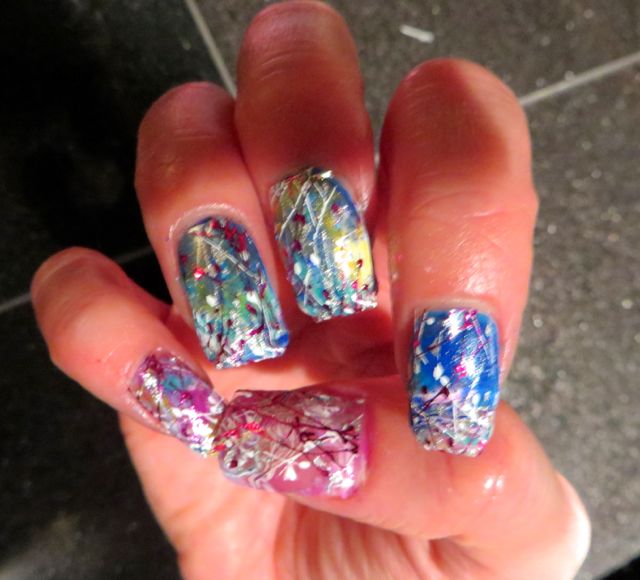
The final look you achieve all depends on the technique you use. It’s exciting to see the unique, professional designs you can create yourself! Try dropping two colors at a time into your color bowl. Swirl your finger tips into the first two colors and then let your nails dry before you dip again. Add two more colors and then dip a second time. This allows for more separation of the polish hues. I poured all 5 colors in my bowl and stirred for a more blended look.
Any nail polish brand and color can be used to graffiti your nails. I love the variety of O.P.I polish www.opi.com